

Discovering the ideal wool outfit in the precise shade of blue may be a difficult task. Even if you manufacture the garments yourself, you may not be able to locate the precise shade of wool fabric you want without spending a lot of time and money searching. The good news is that if you know how to dye Merino wool, you can skip this problem entirely.
To ensure that the process runs smoothly and that you achieve the best results, whether you are dying handspun or professionally spun store-bought merino wool, you should educate yourself as much as possible on how to dye merino wool.
Do you want to experiment with dyeing your merino wool? Creating custom-colored textiles that are genuinely unique is not as difficult as you would think – with a little time and the correct tools, you can produce fabrics that are truly one-of-a-kind. This blog article will take you through the fundamentals of dyeing merino wool from start to finish. Are you prepared to begin? Let’s get started!
Table of Contents
Is It Possible to Dye Wool?
Wool can be dyed the same way that most natural fabrics can be. It is a good absorber of color, and after the dye is set, the color remains brilliant for a long period.
Animal fibers such as wool, on the other hand, require dyes with a low pH reading, as opposed to plant fibers consisting of cellulose. For the dye to adhere to the fiber, it must also be heat-set before use.
Wool is a protein fiber, which is a category that encompasses any animal-produced or insect-produced fiber composed mostly of protein, such as hair or fur, and other synthetic fibers. Wool is produced by various animals, including sheep, llamas, and goats, which humans use to make fabric, thread, and yarn.
While wool absorbs color well and maybe dyed in a broad spectrum of colors using various dyes, it is important to use caution while working with it. When dyeing wool, it’s simple to cause harm by mistake if you handle it the same way you would cotton or synthetic cloth.
Step 1:
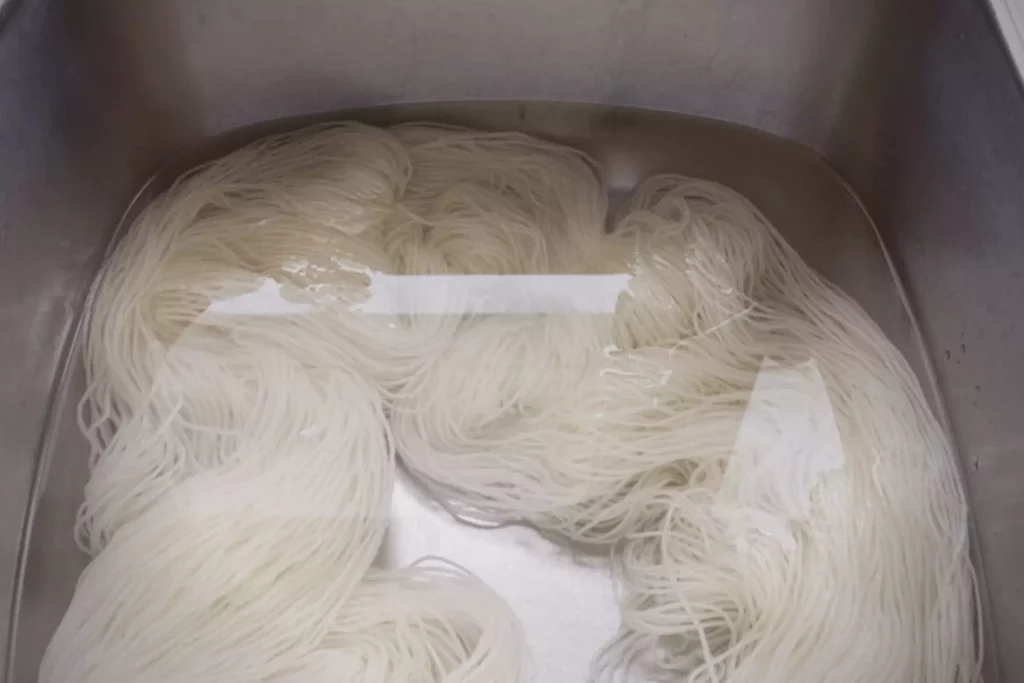
Please place it in a big mixing basin filled with warm water and roughly 1/2 teaspoon liquid detergent to wash the yarn. Combine the soap, water, and yarn, but do not make the water sudsy.
Check to see that the yarn is soaked and submerged beneath the water, adding extra water if necessary to submerge the yarn properly. Allow for a 20-minute soak time for the yarn.
Step 2:
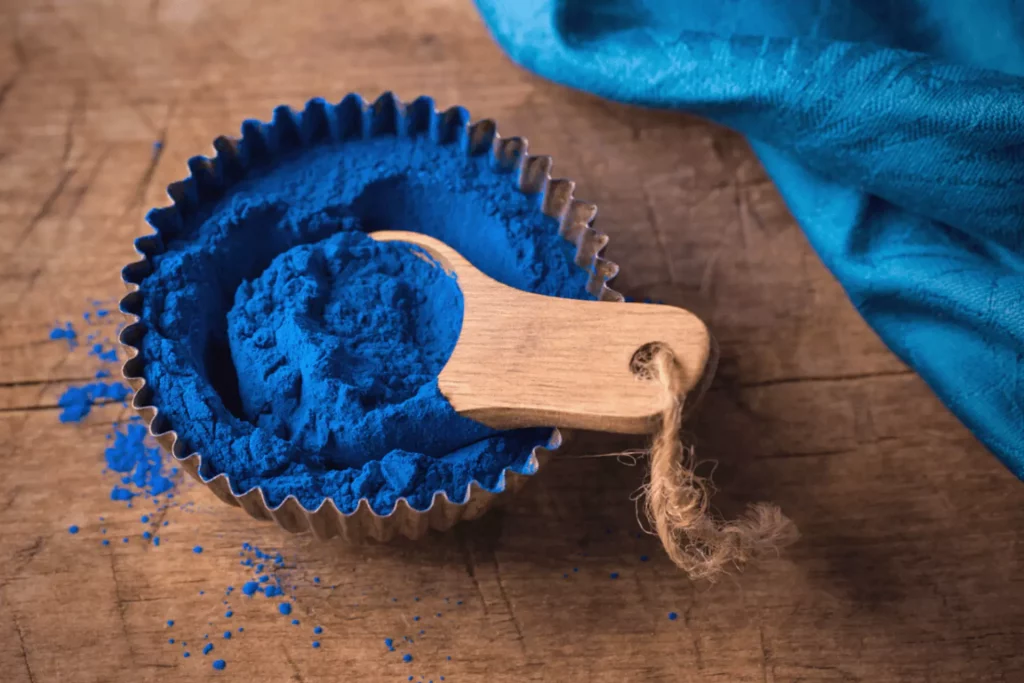
Decide how black you want your dye to be before you begin. 1/2 teaspoon of dye for a light shade, one teaspoon of dye for a regular shade, or 1 1/2 teaspoon of dye for an intense shade are placed in a plastic container. Make a paste out of the color by mixing it with a spoon and a teaspoon or two of water.
Step 3:
Combine your paste with roughly 1/2 cup boiling water, or more if necessary, and constantly stir until all of the color powder is dissolved. Fill your big saucepan halfway with water and bring it to a boil on the stovetop.
Step 4:
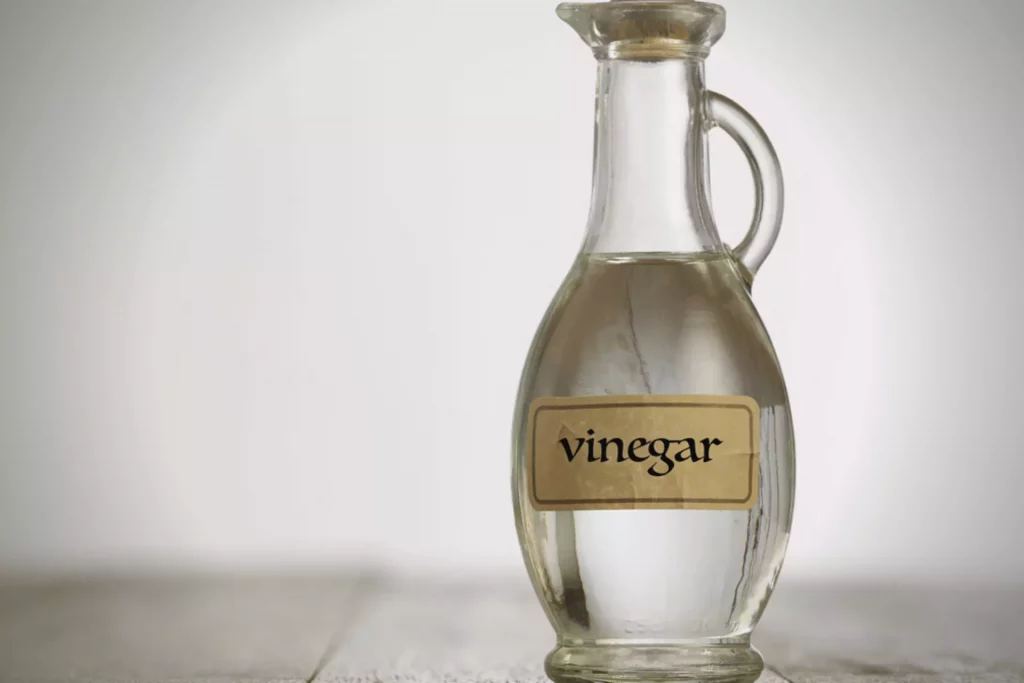
When the dye liquid has been combined, add it to the hot water while still warm—eight oz. White vinegar should be added to the color and water and thoroughly mixed.
Remove the yarn from the water bath and let the excess water drain out until the yarn stops dripping, but do not allow the yarn to dry completely. A wooden spoon should be used to help slowly lower the yarn into the dye bath.
Step 5:
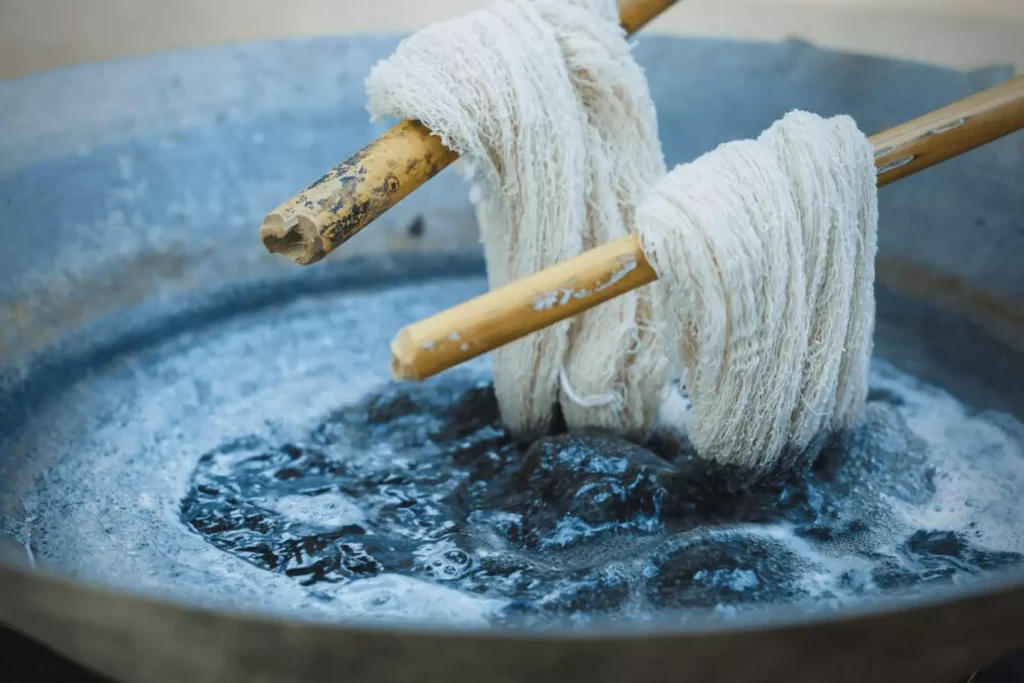
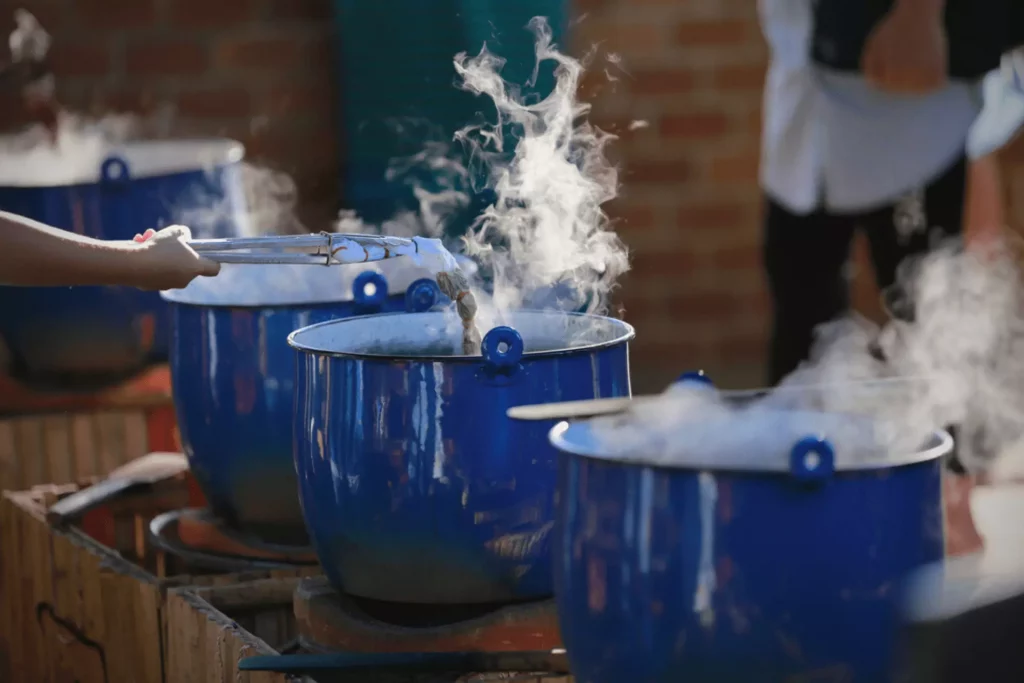
Turn on the heat to medium and heat the dye and yarn till the dye begins to simmer. It is important not to heat it to the point where the liquid boils.
Once the liquid begins to simmer, set a timer for twenty-five to thirty minutes to ensure that it finishes cooking. The first ten minutes should be spent softly stirring the yarn to ensure that all strands come into touch with the dye.
Step 6:
Allow the yarn to soak in the dye for as long as the timer indicates. The yarn will have absorbed the dye in an ideal situation, leaving just clear liquid. Colors such as turquoise and magenta may leave a residue on surfaces.
Step 7:
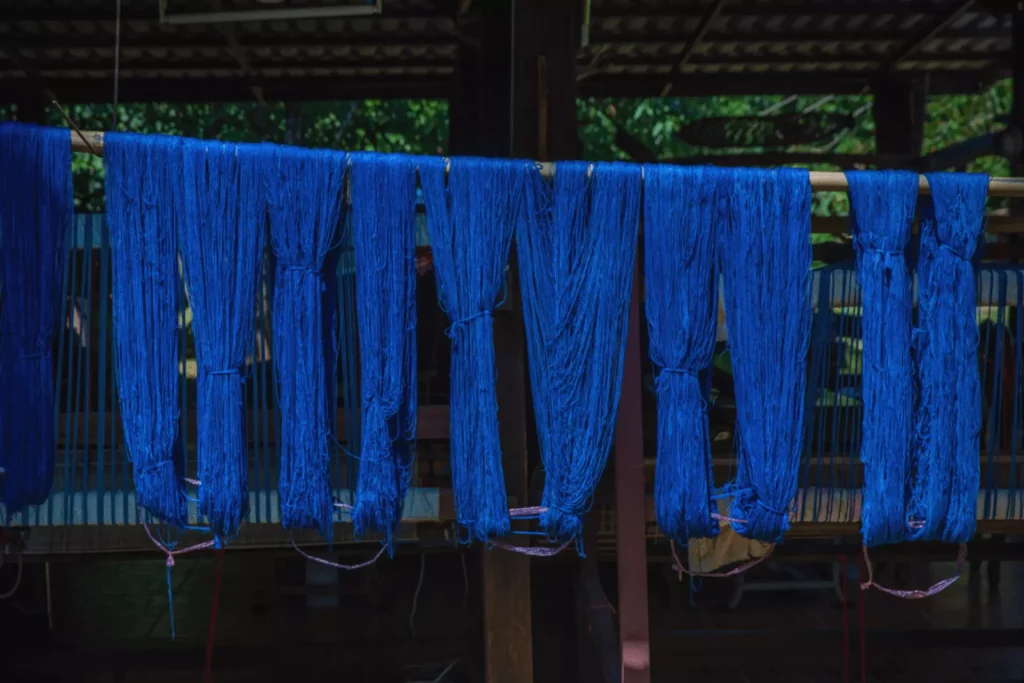
Using a wooden spoon, carefully lift the yarn out of the liquid. Re-soak the yarn in hot water for several minutes, then gradually drop the temperature until the water runs clear and you are ready to rinse with cold water. Then dry the yarn, squeeze off any excess water and hang it to dry.
Is It True That Dyeing Wool Causes It to Shrink?
If the dyeing procedure for merino wool is not done properly, it might shrink the wool. In the dyebath, constantly agitating the clothing will cause agitation, which will result in shrinking.
Acid dyes require heat to be effective. Extremely hot water is not good for merino wool, but the issue is not the heat but rather the agitation throughout the process.
Wool felts and shrinks as a result of the agitation it experiences. Most individuals regularly try to poke or agitate their clothing items in the dyebath to avoid such issues.
Suppose you want to reduce shrinking when dyeing wool; avoid using a washing machine throughout the dying process. Make sure you use a large tub to hold all of your items, and avoid poking or stirring the clothes after they are in the dyebath.
What Type of Dye Should Be Used on Merino Wool?
It is necessary to use an acid dye in a color of your choosing to dye merino wool to achieve the desired result. To change the color of a merino wool sweater, a good quality acid dye is required. Acid dyes are used particularly for animal fibers. Hence a good grade acid dye is required.
Nowadays, there are a plethora of various dyes to choose from. Some dyes are more suited for use on plant-based fabrics, while others are better suited for animal fibers, and some are just excellent all-purpose colors.
My advice is PROChemical PRO One-Shot Dyes, which I’ve had the best luck with in my experiments thus far. These colors, such as RIT, do not necessitate the use of chemicals.
They’re also rather safe to handle, and, unlike many commercial colors, I’ve had no problems putting them down the toilet or into my septic system.
What Should You Keep in Mind When Dying Wool?
The most crucial things to watch out for when dyeing wools are shrinkage and felting, both undesirable results. Wool is temperature-sensitive; therefore, if the dye bath temperature is suddenly raised or lowered, the wool may shrink due to the temperature shift.
Prolonged stirring or agitation can also cause the wool to shrink or feel abrasive. Felting occurs when the wool clothing begin to tear and connect with the fibers in their immediate vicinity, resulting in a change in the appearance of the fabric.
While handled wool is a rich, warm fabric that may be used in various ways, felting is not reversible. If you made a mistake and felt your wool cloth, there is no going back.
Other considerations to consider when dyeing wool include whether the cloth has been treated or chemically changed and the type of animal and breed from which the fiber was derived.
Because the fibers have been chemically evolved or coated to avoid felting, super-wash merino wool can resist higher temperatures and agitation than other wools. This is more prevalent than with other wool forms for sheep wool.
If you don’t know anything about the fabric’s history, look for hints in the garment’s cleaning instructions. Unless otherwise stated, super-wash is the preferred method of cleaning. Fabrics that can only be washed by hand or dried are likely mistreated and at risk of felting.
If you don’t have a clothing tag or deal with yarn or fabric, you should contact the manufacturer to find out what sort of wool they used in their creation. This information will assist you in selecting the most appropriate dye for your project.
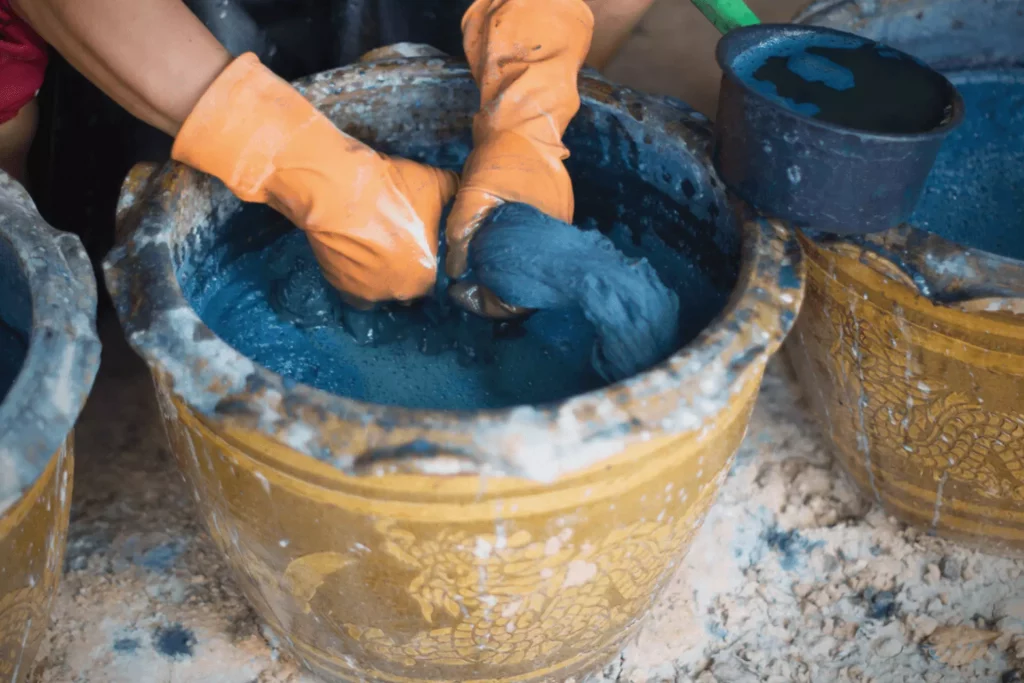
Lastly, like any dying cloth job, working with chemicals can be harmful to one’s health. As with any job, dress in protective gear like gloves, a face shield, and safety glasses.
If you’re experiencing issues with your Merino wool clothing shrinking, don’t fret! We’ve got some amazing hacks that can help you restore it back to its original size.
Is It Possible to Tie-Dye Wool?
Tie-dying wool clothing is possible, although the procedure is slightly different than tie-dying cotton apparel. The dyeing procedure is identical for each other types of wool dyeing: you soak the wool in water, add a mordant and the dye, boil it for some time before rinsing and drying the wool.
To obtain the tie-dye look, you must wrap elastic bands all around the material or garment before soaking it in water. The dye may then be applied with a syringe or a turkey baster to the regions where you wish it to appear.
After the color has been applied, it is necessary to heat the fabric. You may either cook it on the stovetop (be sure the wool is completely covered in water; do not cook it in an empty pot!) or microwave it for a few minutes after wrapping it in plastic wrap.
After cooking, allow it to cool by leaving it out at room temperature. After that, rinse and air dry as usual! Although it may not be as sharp as cotton tie-dye, it would look the same.
Frequently Asked Questions:
Is it possible to color wool with Dylon?
A. Dylon Hand Fabric Dye may be used to dye wool and silk fabrics.
Is it possible to dye merino wool at home?
A. Soak the sweater in white vinegar and color it with an acid dye on the burner. Other tools like gloves and a metal spoon or spatula will come in handy. To minimize cross-contamination, it’s preferable to use a pot and tongs that you don’t normally use for cooking.
Is it possible to color wool using turmeric?
A. When it comes to natural dyeing projects, dyeing wool with turmeric is a simple and fool-proof technique to obtain spectacular results with less effort.
Final Words:
That’s all there is to it! Every detail for dyeing merino wool is covered in this article. Consider giving this project a try if you’re seeking a fun and easy project that will result in some gorgeous end items.