
It doesn’t matter what time of year it is; there is no disputing that staying at home under a cozy blanket is preferable to going to the office or running errands on any given day. If you add a relaxing activity like reading a nice book while sipping a glass of wine, you’ll feel like you’re on vacation without leaving the house.
However, one more essential component to this idyllic setting would truly take things to the next level regarding how snug they are: a thick-knit merino blanket. You undoubtedly have a strong understanding of the specific style, given that hygge-holics and others have been fixated on it as of late—and for a very good cause.
Each enormous throw keeps users as warm as possible, but the huge stitches also give them an edge over the remainder of your blanket collection. In addition to this, you may store them virtually wherever, from the comfortable seats in your living room to the foot of your bed. They are also the ideal present for individuals who are perpetually shivering.
Table of Contents
Detailed Instructions on How to Build Your Thick Merino Wool Blanket at Home:
In this day and age of technology, many guides and tutorials are available online that explain how to knit a bulky blanket. The following is an in-depth tutorial that will walk you through the process of creating your very own homemade blanket in the simplest possible method.
1. Investing in Some Yarn:
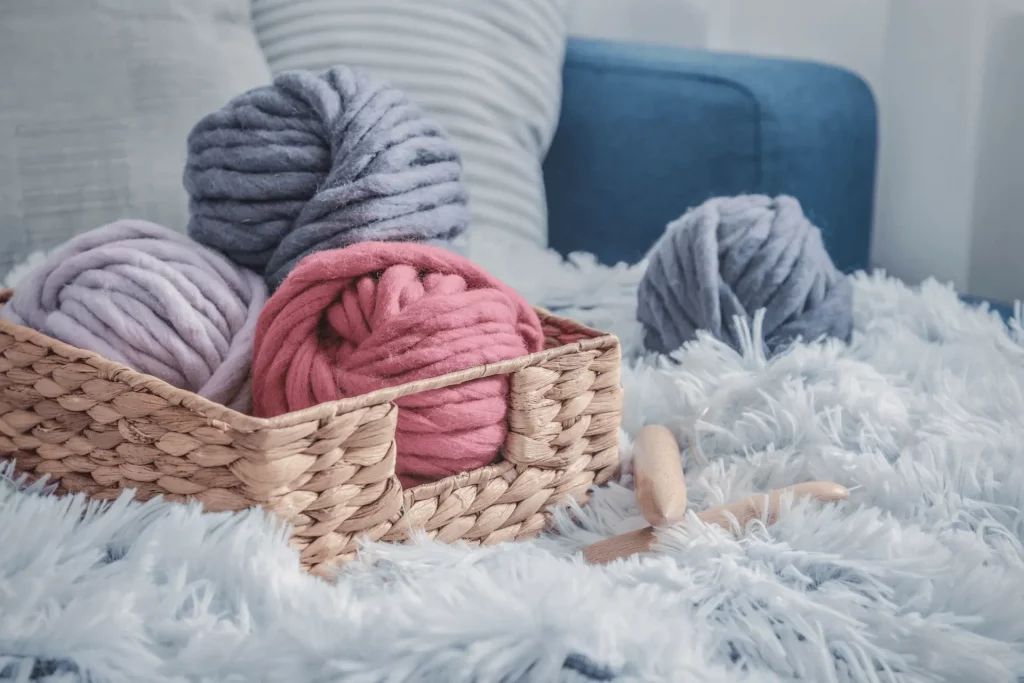
To knit a sweater, you will need a few different things. To begin, you will require the yarn. You may choose from a wide selection of yarns in length, weight, and substance.
2. Sew Your First Stitch:
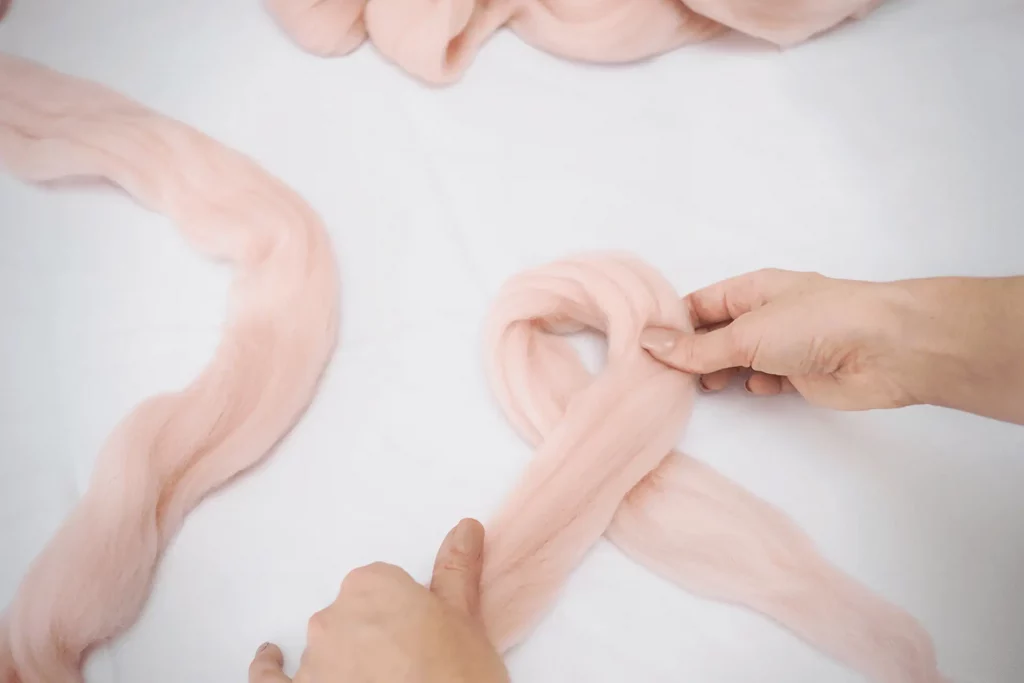
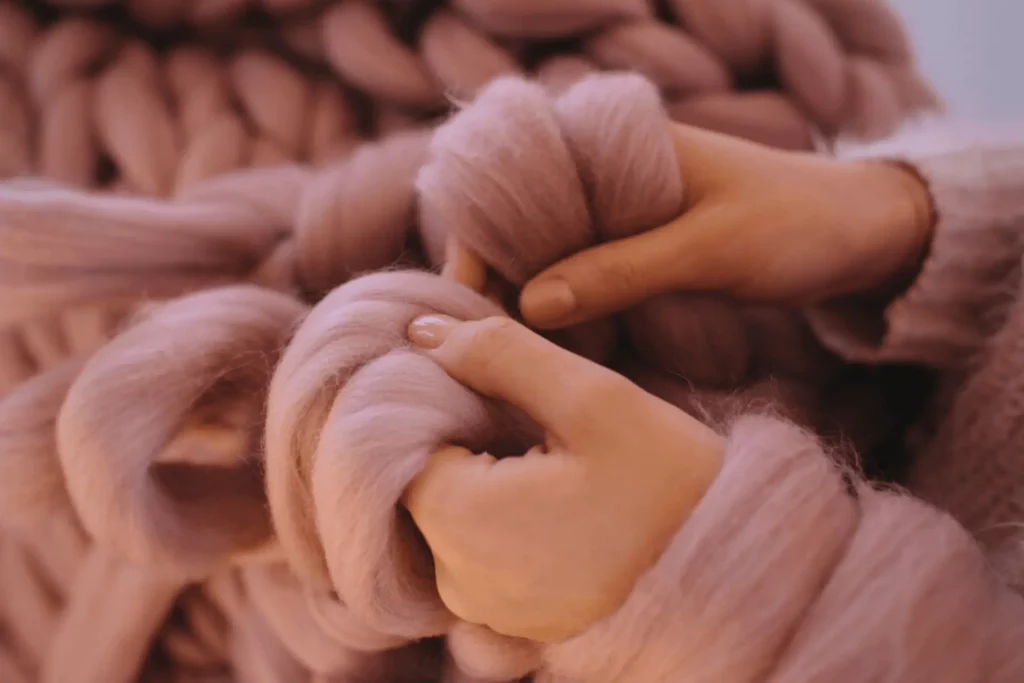
After removing the wrapping off your yarn, it’s time to work on your first stitch. To start, you should be informed that arm crocheting is the technique used to construct the bulk of DIY chunky knit blankets. if you’ve never attempted knit with your hands before as that’s precisely what this lesson is for.
You will need your hands, yarn, and patience to work on your first sews. Unwrap the yarn so that it is lying flat on the floor in front of you in the form of a mound. This will make it so that the thread can be pulled easily, and it will also let you concentrate more on the actual knitting process.
In contrast to the traditional method of knitting, in which you are required to “cast on” the stitches for the first row of work, we have a clever suggestion for you that will shape your blanket and make it appear much more organized. Start crocheting using the chain stitch rather than casting on the stitches at the beginning of the project.
Your blanket’s breadth will be equal to the length of the knitted chain that you make. Your initial right side stitch will be worked through the very last loop of the unfinished chain. When you have completed crocheting the chain to the required length, you can next begin knitting the actual stitches that make up the blanket.
If the chain is too tight, try crocheting it more loosely instead. If it is pulled excessively tightly, a particular section of the blanket will become too constrictive and stand in stark contrast to the remaining sides of the blanket. You may easily pull the loose end in to make the crochet chain tighter if it turns out too slack after you make it.
3. Start the knitting:
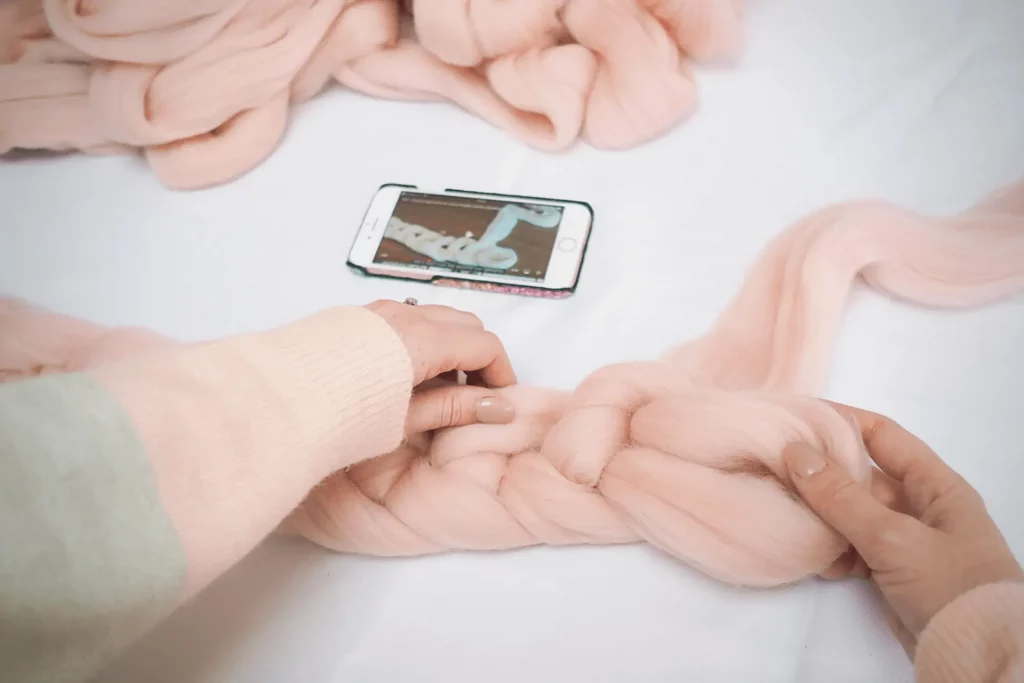
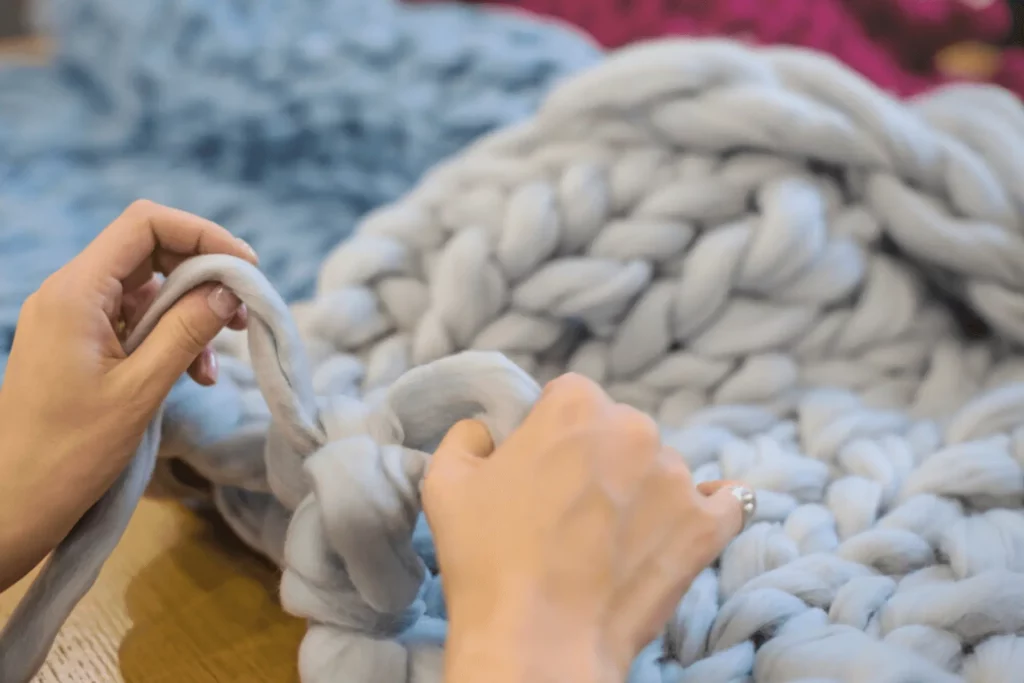
To create the additional stitches, turn the crocheted chain on its side so that the little loops in the chain’s center are visible. These loops will eventually become the stitches. For the time being, leave the side stitch, which is also the last chain loop, unattached and begins drawing the long thread to the left side through all chain loops to produce a row of individual stitches.
After completing the first row of stitches, you should have a fairly good sense of how the process works. After completing the first row of your knitting project, keep your knitting needles in the same position and begin to work backward left side to the right side, drawing the long thread through each stitch of the first row.
Remember that each row only requires you to knit the side stitches once. Knitting the final stitch of the row is how you finish it, and knitting the second stitch of the next row is how you begin it.
4. Knitting the Blanket:
Repeat generating stitches row after row to create the blanket’s length. Keeping track of the number of stitches in each row while you knit can help you maintain concentration and ensure that no stitches are skipped.
Check that all of your stitches are the same size at regular intervals. You shouldn’t worry about it if they aren’t because the repetition will eventually make it flawless. Utilize your hand as a measuring tool by pulling each stitch on your hand to ensure that the stitches are all the same size. This will ensure that the knitting is even.
5. Bind off the Blanket:
What are your plans for the future now that the blanket is finished? You will need to bind off your thick blanket before calling it finished. We recommend that those starting standoff from the right side, as this is the simpler option.
After you have completed the final row by knitting the stitches from left to right, you may begin to tie off. Do you recall the advice that stated you should avoid the side stitches twice. You are now in a position to do it, and you should. Knit the final row with an additional stitch on the right-hand side to help shape the blanket’s corner.
Keep that one stitch on your hand, then take the next free stitch and put it on your hand, giving you two more stitches. By drawing the working yarn between the two stitches, you will be reduced to working with only one stitch once more.
Repeat this step until all stitches are complete and you have only one stitch left on your hand. You should have around 8 inches of tail after cutting the thread. Put the tail within the stitch, then draw it as taut as possible.
Try not to draw the main yarn through the sews too tightly or too loosely; instead, pull it through naturally so that the top of the blanket comes out looking nice and formed.
6. Finishing Touches:

You are free to leave the tail lengths of your blanket hanging, but you also have the option of weaving them through the openings in the chunky blanket if you like. This results in a more polished finish for your blanket.
When weaving the top tail, you should strive to stay more to the top of the blanket. This will help the thread blend in more with the blanket and make it less apparent. Do the same thing with the tail of the first row, which was leftover when you started knitting the blanket. Please make an effort to stick and weave to bet it is closer to the bottom of the first row.
Now, grab the blanket with your hands and give it a thorough shake. It will bring evenness to the stitches and the rows, completing the form. And there you have it, your own exclusive chunky knit blanket that you knitted yourself!
Tips and Tricks:
Now that you’ve mastered the pattern for this incredibly bulky knit blanket, a few pointers will help you make sure the finished product is of the highest possible quality.
Don’t Be in a Hurry:
I am aware that some tutorials make the bold claim that you will be able to complete the knitting of a chunky knit blanket in under an hour. However, it takes far longer for most individuals, particularly novices.
Don’t be concerned. You’ll notice an increase in your speed with time. I strongly suggest that you hunt for a friend interested in working on this project with you. If you make a big deal out of it and make it into an event, you will have so much joy that you won’t even realize how much time has passed.
Put on Some Short Sleeves:
This should be quite evident. Because your sleeves will get in the knitting process, you will finally finish the project more slowly.
Pull and Prod at the Covering:
When knitting the blanket, you should sometimes give it a gentle pull to ensure it does not bunch together. Additionally, you will be required to pull and stretch the completed product.
Take a Rest:
If you need a break from knitting, you can put the needles down. You may break it up into many sessions if you like. You’ll feel like you have a ton of energy and be ready to start knitting again after taking a moment to relax with a cup of coffee or tea in your hands.
What Kind of Maintenance Does Your Chunky Knit Blanket Require?
Because Merino wool is such a sensitive fiber, it should only be cleaned using dry methods. On the other hand, because it is resistant to heat, you may even iron it at a very high temperature if you need to.
Because merino wool naturally inhibits the growth of germs, there is typically no requirement for further cleaning. If something is spilled on the blanket, you may use a moist towel or your hands to clean the blanket’s dirt carefully.
Frequently Asked Questions:
If you want to construct a throw out of merino wool, how much will you need?
This quantity of chunky yarn, which weighs 6.2 pounds (2.8 kilograms), is sufficient for making a throw blanket of a typical size.
What number of skeins of yarn should I use for a blanket?
To make a crochet blanket, you will use anywhere from one to eighteen skeins of yarn. Or anywhere between 900 and 4000 yards of yarn. This will be influenced by the magnitude of the blanket, the thickness of the yarn, and the colors used for the blanket.
What number of stitches do I need to cast on for a blanket?
Casting on 120 stitches will provide a blanket of a size considered to be medium. Cast on 160 stitches to make a big blanket suitable for a lap. Cast on 200 stitches to make an extra-extra huge lap blanket.
Should you spend the extra money on a thick-knit blanket?
There are times when it is well worth the money to invest in a truly excellent chunky knit throw.
Bottom Line:
We hope that you took the time to read our blog post on knitting a blanket out of merino wool. We know that maintaining a comfortable temperature for your family throughout the colder months can be difficult. We hope that this piece on our site has inspired you to create a Merino Wool Blanket for your home that all of your loved ones will take pleasure in using.